Zelda: Tears Of The Kingdom - North Lomei Labyrinth And Shrines Guide
Find the central room in Hebra's North Lomei Labyrinth in The Legend of Zelda: Tears of the Kingdom.
The Legend of Zelda: Tears of the Kingdom North Lomei Labyrinth is a set of gargantuan structures in the Hebra region. You'll have to find look for a way to get inside to find a nifty reward. Here's our guide to help you complete the Hebra North Lomei Labyrinth in Zelda: Tears of the Kingdom. Likewise, please be reminded that this article contains minor spoilers about the item reward.
Surface and Sky Labyrinth locations and how to get there
There are three Labyrinths in the game, and they all have counterparts in the Surface, Sky, and Depths regions. Given how they're quite far from most other landmarks, we suggest taking a look at our Shrine locations guide and Skyview Towers guide, as these let you know about the best places where you could start your journey.
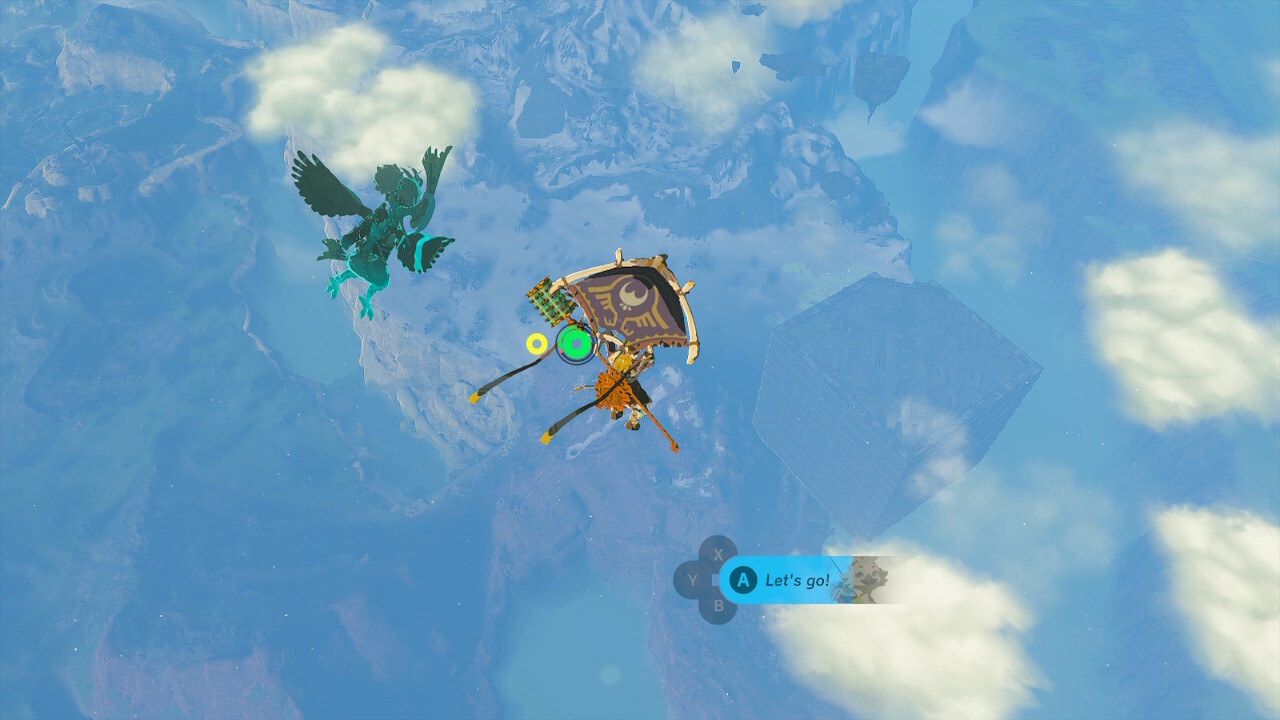
As for The Legend of Zelda: Tears of the Kingdom North Lomei Labyrinth, it can be found in the northeastern portion of the Hebra region (i.e., north and center of the map). Rather than exploring the lower area and getting lost, we're going to speed things up. For this, you'll want to glide west from the Typhlo Ruins Skyview Tower so you can reach the Sky Labyrinth. There, you'll be able to tag the Tenbez Shrine to act as a fast travel point.
North Lomei Labyrinth: Mayaotaki Shrine and central terminal
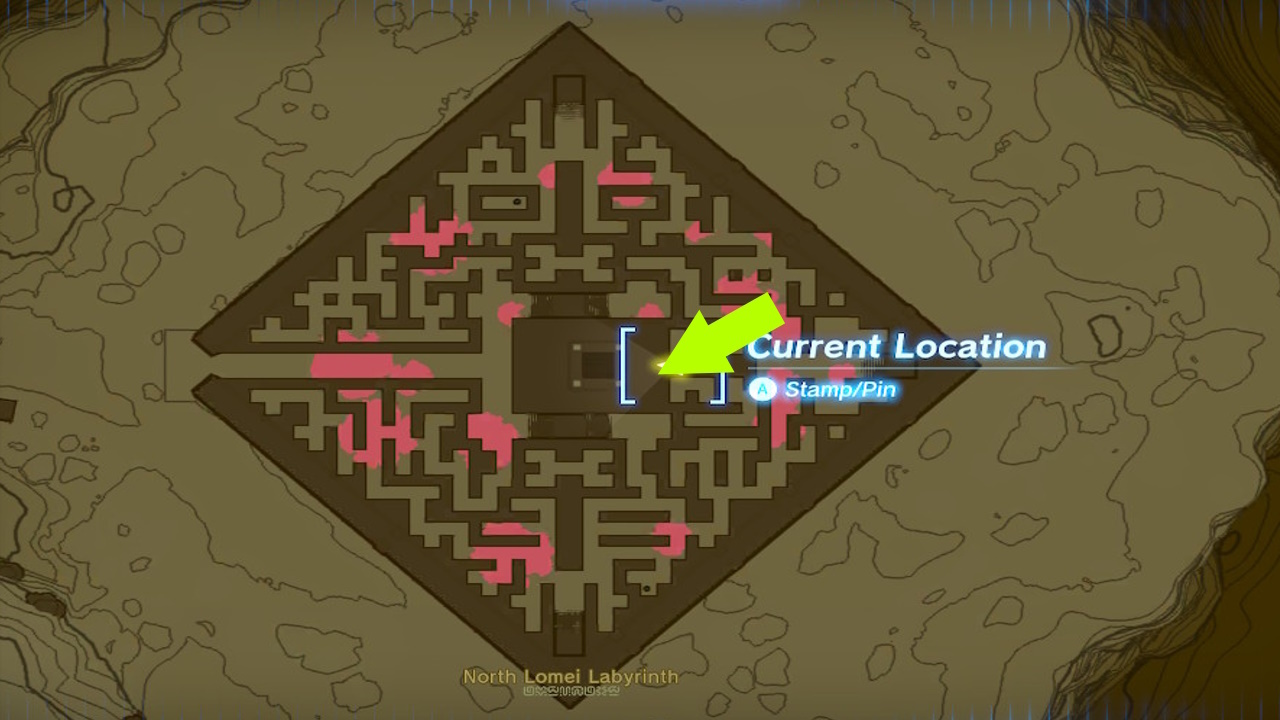
From the Sky region, dive down to the Surface Labyrinth. You should land on the topside walls. Our goal now is to find the central terminal. The path is quite well-hidden, but you'll see it in the lower-right portion of the center area of the diamond.
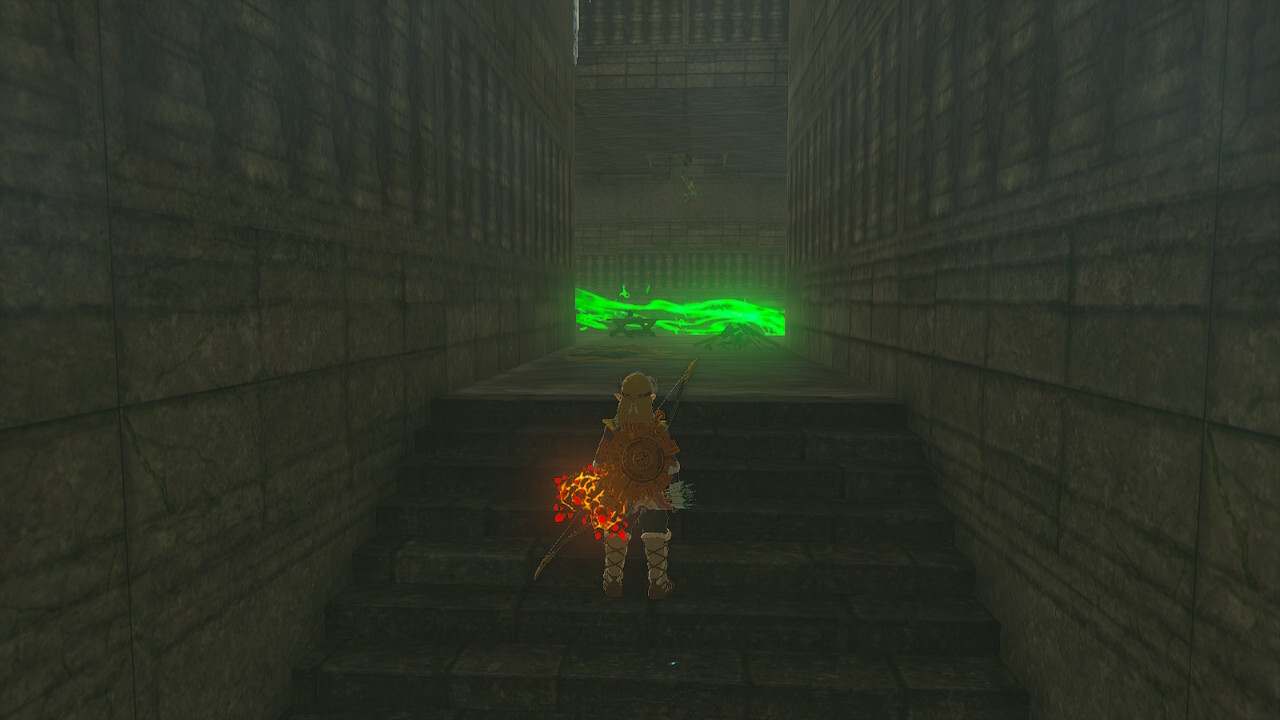
Inside, interact with the terminal to get the North Lomei Prophecy quest and make sure you're tracking it. You can also use flames to melt the ice, so you can enter the Mayaotaki Shrine. It has a Diamond in the chest and a Rauru's Blessing. Once you're finished with this part, return to the Sky Labyrinth.
North Lomei Sky Labyrinth: Tenbez Shrine Puzzle
Anyway, let's talk about the Shrine in the Sky Labyrinth. In The Zelda: Tears of the Kingdom Tenbez Shrine, you'll notice a large orb being bounced between two push blocks. There's also a switch in the middle which, when activated, turns this into a low gravity area.
Here's what you need to do:
- When the ball is at the right side push block, hit the switch. The low gravity will cause it to hit the bullseye target, opening the gate up top.
- To grab the chest, stand on the push block on the right side while low gravity is active.
- To reach the upper section, stand on the push block on the left side.
- For the second puzzle area, make sure low gravity is still active (i.e. the switch is green). When the ball bounces over and past the bullseye target enclosure, target it with Recall. As it moves back, cancel recall and hit the switch to make it fall.
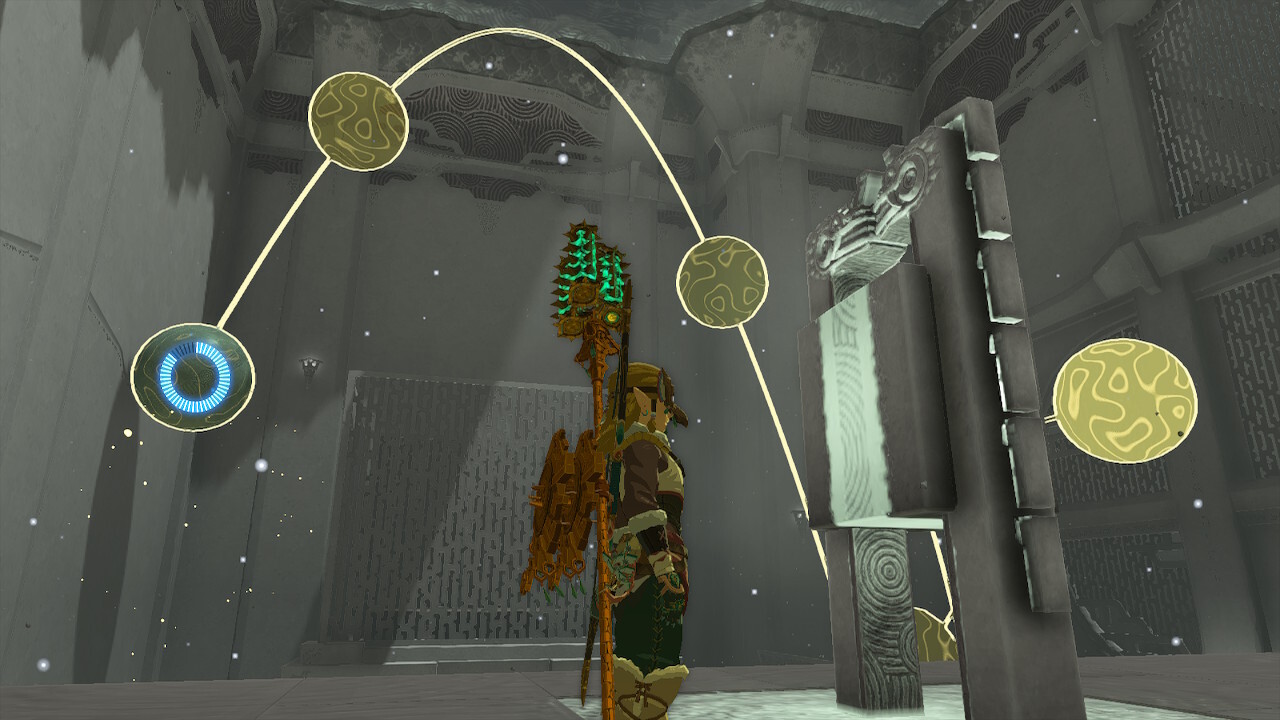
North Lomei Sky Labyrinth terminals
As for the Zelda: Tears of the Kingdom North Lomei Sky Labyrinth, we'll need to activate the four terminals in the maze. You can see them in the image below:
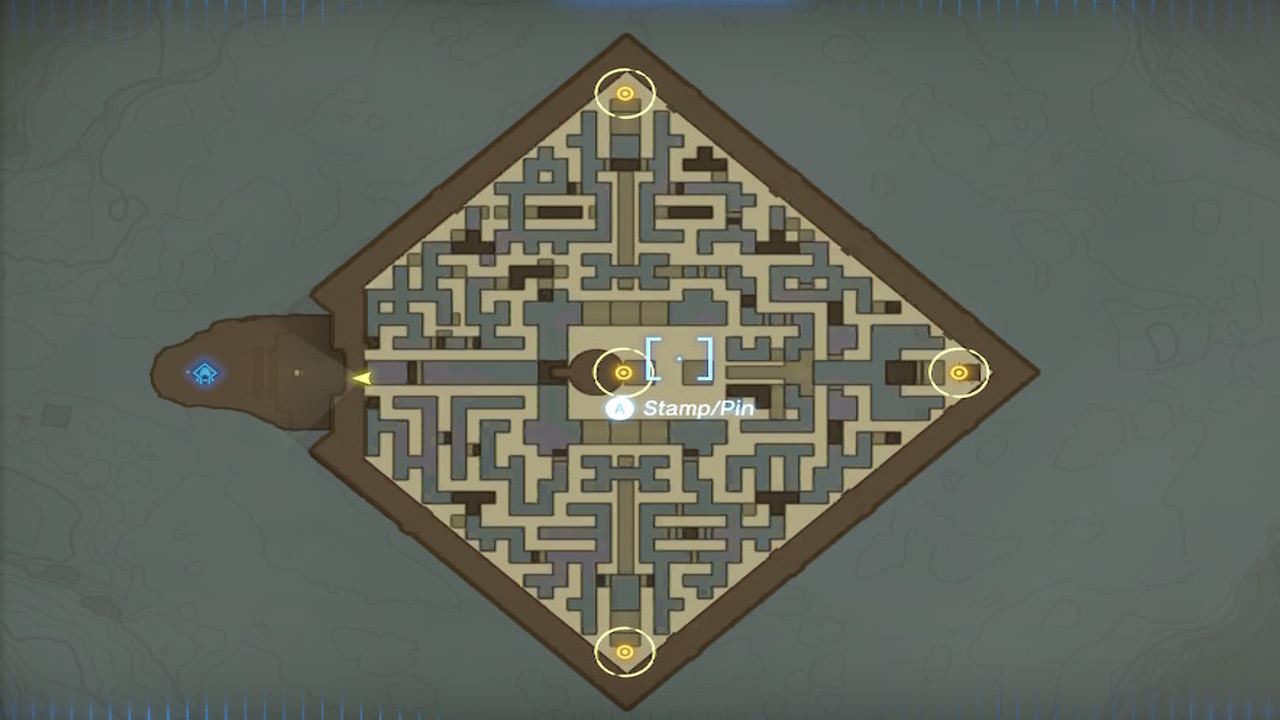
Since this is a low gravity area with lots of updrafts, Link can jump and reach higher areas. In fact, we'll do that now. Rather than going through the maze normally, use the strong updraft near the entrance to reach halfway up the ancient walls (i.e. they have red-colored designs and frills). You can climb all the way to the top. From there, you can just drop back down when you see a terminal. If you want, you can just fast travel back to Tenbez Shrine and repeat the process.
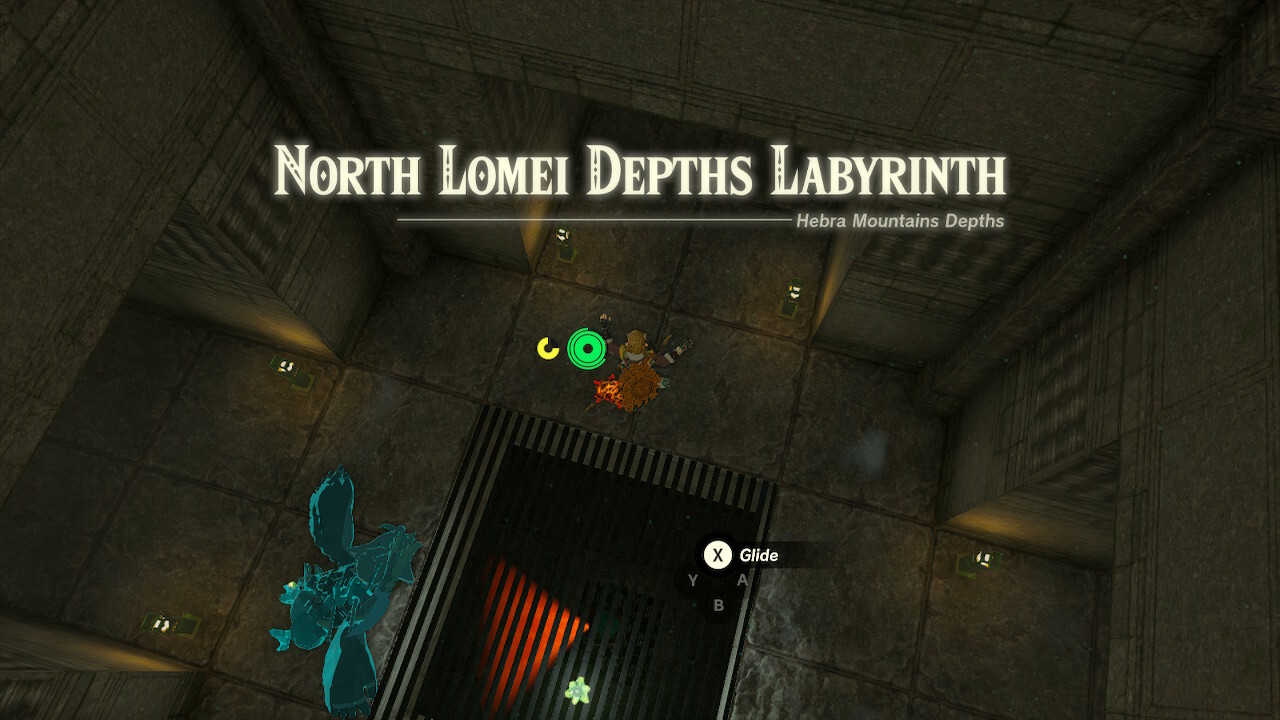
North Lomei Depths Labyrinth boss and rewards
After activating all four, ride the strong updraft to the main terminal. Interact with it to open the gates to the chasm. Skydive all the way down to the North Lomei Depths Labyrinth, where you'll fight a Flux Construct III. Remember its attack patterns and the things you need to do:
- When it's in robot form, use Ultrahand to grab the energy block (the one that's charged).
- When it's in cube form, just avoid it as it rolls, and keep trying to grab the energy block.
- When it's in the air, shoot it with something that deals AoE damage, like a Bomb Flower attached to an arrow. Then, keep pulling blocks until you see the energy block.
- Attack the energy block once it's been separated from the rest.

After defeating the boss, interact with the terminal to spawn a chest. This will reward you with the Evil Spirit Greaves. It has +4 armor rating and it increases your stealth. Also, equipping the full set gives increased proficiency when using bone weapons. And, of course, it looks like the Phantom Ganon set from Breath of the Wild.
In any case, this completes the Zelda: Tears of the Kingdom North Lomei Labyrinth objectives. Don't forget to tackle the Akkala Labyrinth and the Gerudo Labyrinth while you're at it.
There are numerous mechanics and facets to learn in The Legend of Zelda: Tears of the Kingdom. For more information, you can visit our guides hub.
The products discussed here were independently chosen by our editors. GameSpot may get a share of the revenue if you buy anything featured on our site.
Got a news tip or want to contact us directly? Email news@gamespot.com
Join the conversation