Zelda: Tears Of The Kingdom - Lomei Labyrinth And Shrines Guide
Make your way through Akkala's Lomei Labyrinth in The Legend of Zelda: Tears of the Kingdom.
The Legend of Zelda: Tears of the Kingdom Lomei Labyrinth is a set of gigantic, maze-like structures in the Akkala region. You'll have to find a way to reach it before delving deep into its secrets. Here's our guide to help you complete the Akkala Lomei Labyrinth in Zelda: Tears of the Kingdom. Likewise, please be reminded that this article contains minor spoilers about the item reward.
Surface and Sky Labyrinth locations and how to get there
There are three Labyrinths in the game, and they all have counterparts in the Surface, Sky, and Depths regions. Given how they're quite far from most other landmarks, we suggest taking a look at our Shrine locations guide and Skyview Towers guide, as these let you know about the best places where you could start your journey.
As for The Legend of Zelda: Tears of the Kingdom Lomei Labyrinth, it can be found in the northeastern tip of the Akkala region. Normally, you'd head to the Surface Labyrinth by going from Rasiwak Shrine or the Ancient Tech Lab, then going further into the North Akkala Beach Cave. Doing so means you'd have to go through the underground region, which has several Mr. Gloomyhands waiting for you. Just as well, the maze area will have you following nuts and acorns left behind by a researcher, which tends to be more confusing.

As such, we suggest going to the Sky Labyrinth's Mogisari Shrine first. Use the Akkala Ulri Mountain Skyview Tower or the Gikaku Shrine in the Akkala Sky Archipelago as jump-off points. From your jump off point, you'll see a small island below the floating pyramid. It's got makeshift vehicles and devices that you can use to reach the structure. Once you've tagged the Mogisari Shrine, you should have a fast travel point active.
Lomei Labyrinth: Igashuk Shrine and central terminal
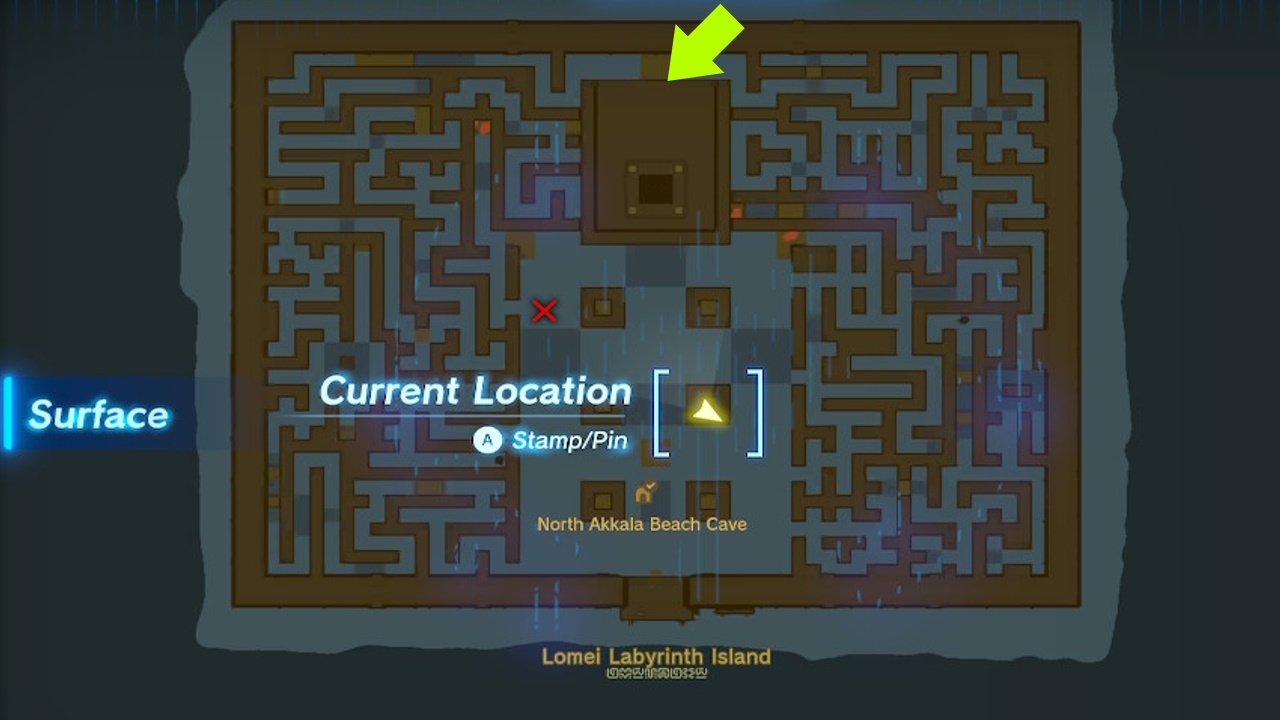
From the Sky region, dive all the way back down. We're going to focus now on finding the central terminal of the Lomei Labyrinth on the Surface. The goal is to land on one of the topside walls before making a manual save. Make your way north and look below you. You should see a small opening that leads to the central terminal.
Inside, interact with the terminal to get the Lomei Labyrinth Island Prophecy quest, which you'll want to track. You may also enter the Mogisari Shrine, which has a Rauru's Blessing. With this completed, it's time to return to the Sky Labyrinth.
Lomei Sky Labyrinth: Mogisari Shrine Puzzle
The Zelda: Tears of the Kingdom Mogisari Shrine doesn't actually have a traditional puzzle. Instead, you'll simply need to drive an ATV across a track, all in low gravity. That means the vehicle is harder to control since it slightly floats.
In any case, proceed normally until the track splits into left and right. Take the left-hand side and ram the stone blocks This will reveal a chest that contains a Mighty Zonaite Shield. At the final section, hop off the ATV and go to the smaller cart. Attach two Rockets facing forward, and drive it all the way to the exit.
Lomei Sky Labyrinth terminals
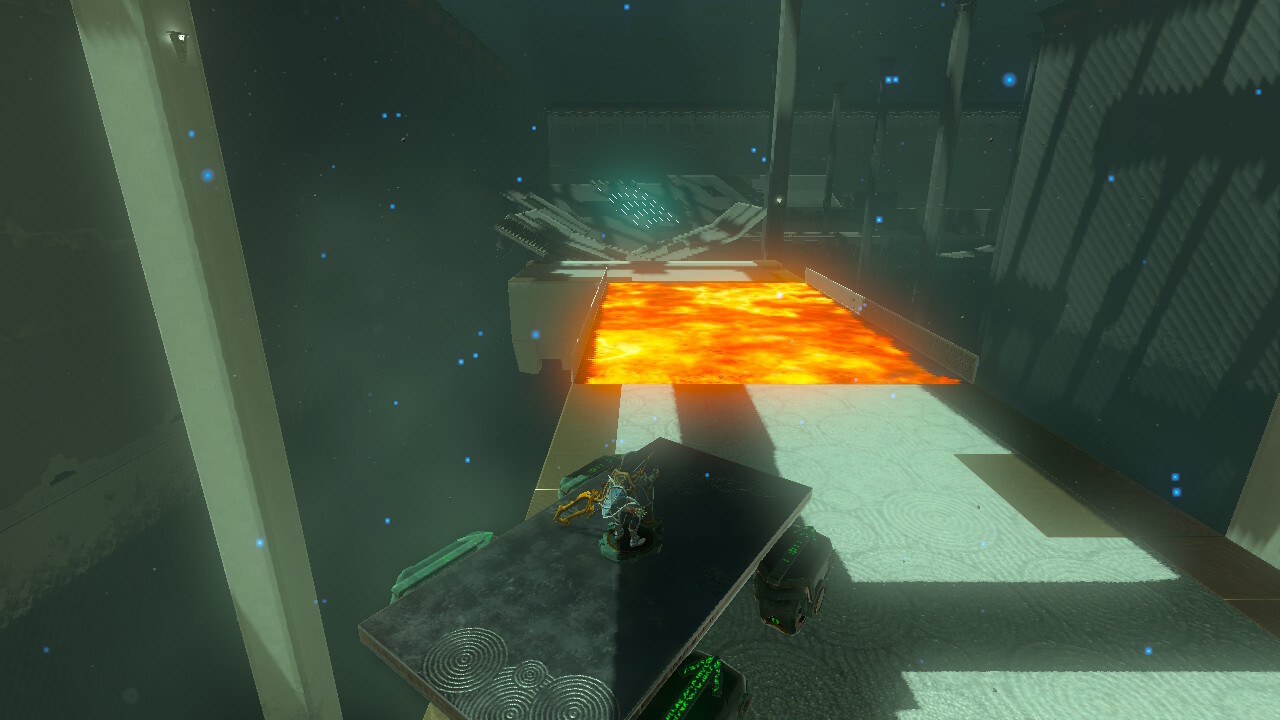
As for the Zelda: Tears of the Kingdom Lomei Sky Labyrinth, the goal is to activate four terminals in the maze. You can see them in the image below:
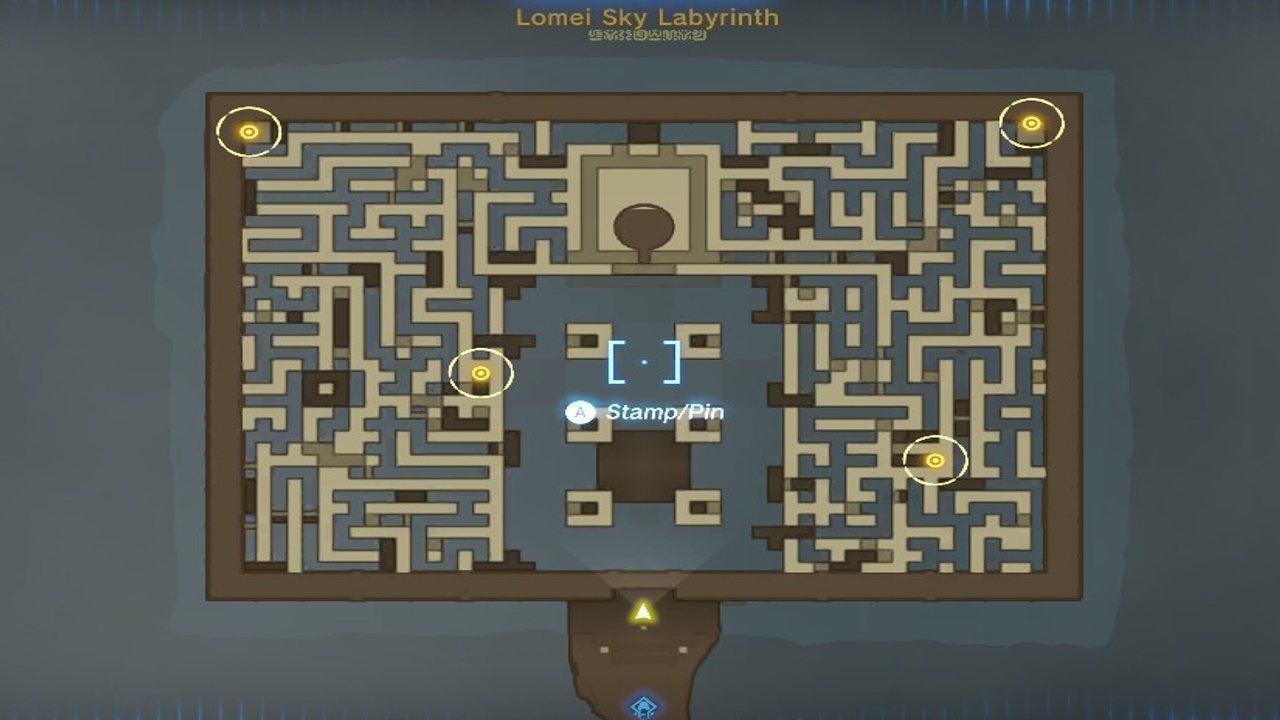
This is a low gravity area, which means Link can jump higher. Likewise, wind currents will carry you further upward. Still, instead of looking for treasure chests or proceeding through the maze normally, we'll just take a shortcut.
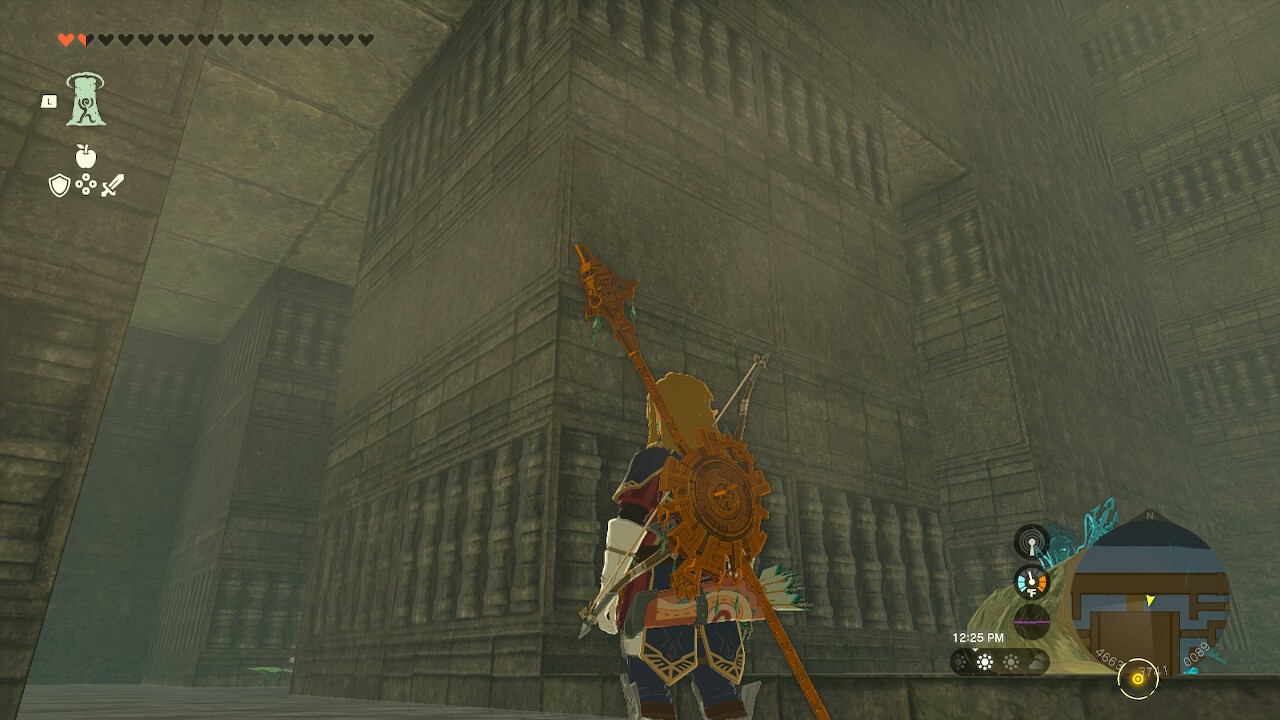
From the entrance, you can try climbing the ancient walls. These walls have red bricks and an ornate design, different from the interior walls that you can't climb. Likewise, there are flat indentations here that let you stand so you can regenerate stamina. Once you've reached the top, simply make your way to a terminal. Drop down and activate it. Then, climb the ancient walls once more and do the same for the other terminals.
Lomei Depths Labyrinth boss and rewards
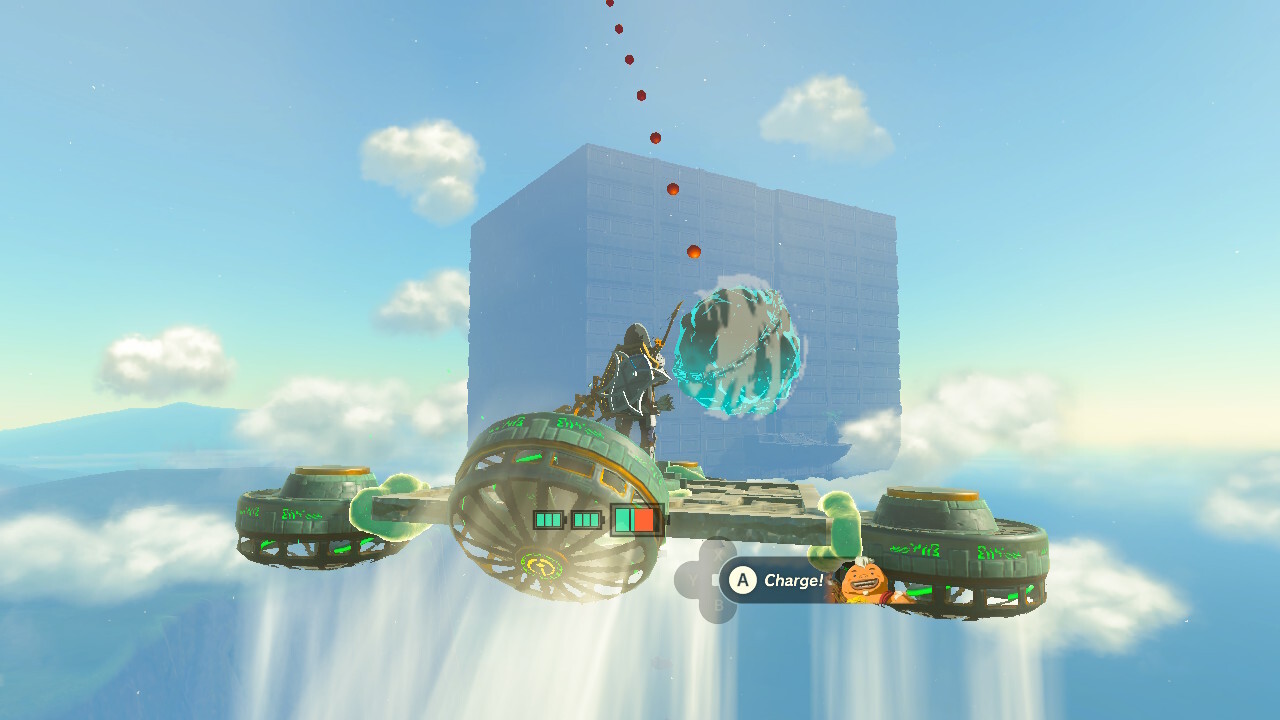
After activating all four, a stronger updraft will take you to the top. There, you can interact with the last terminal. It will open the way for you to skydive straight into the Lomei Depths Labyrinth.
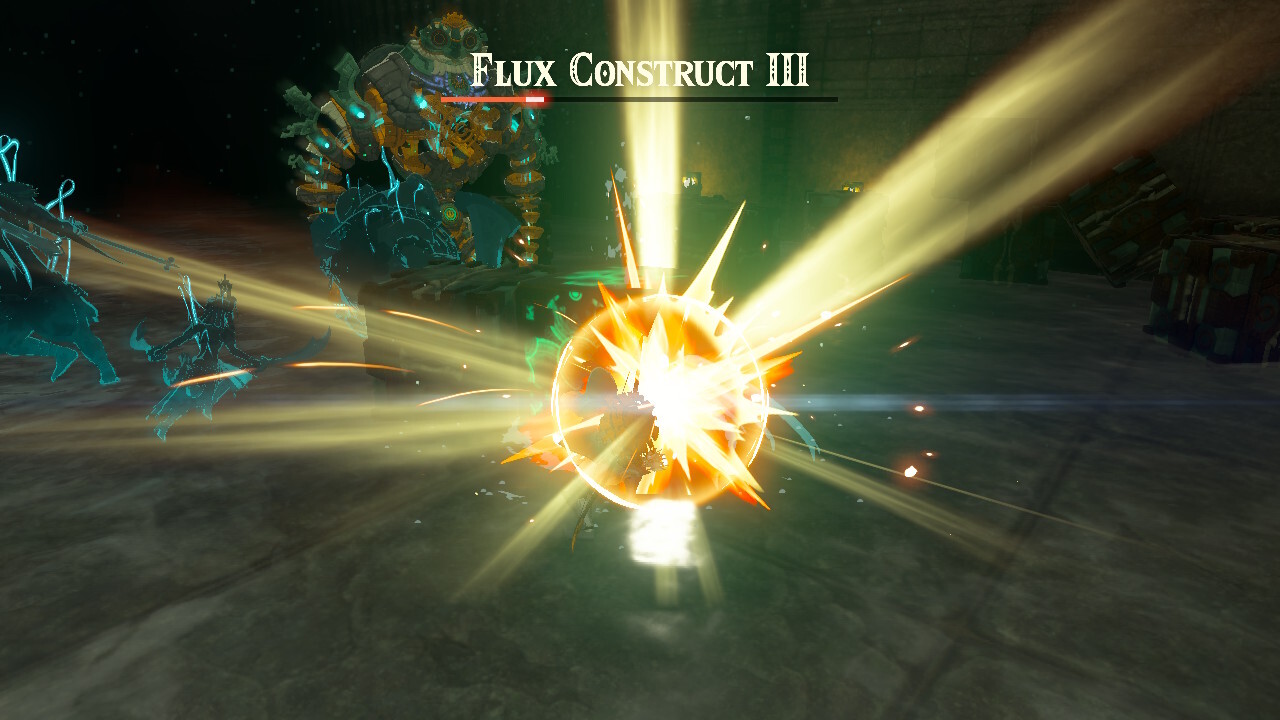
Down below, you'll fight a Flux Construct III. At this point of the campaign, you should be familiar with its attacks. If you need a refresher, here are some tips:
- When it's in robot form, use Ultrahand to grab the energy block (the one that's charged).
- When it's in cube form, just avoid it as it rolls, and keep trying to grab the energy block.
- When it's in the air, shoot it with something that deals AoE damage, like a Bomb Flower attached to an arrow. Then, keep pulling blocks until you see the energy block.
- Attack the energy block once it's been separated from the rest.
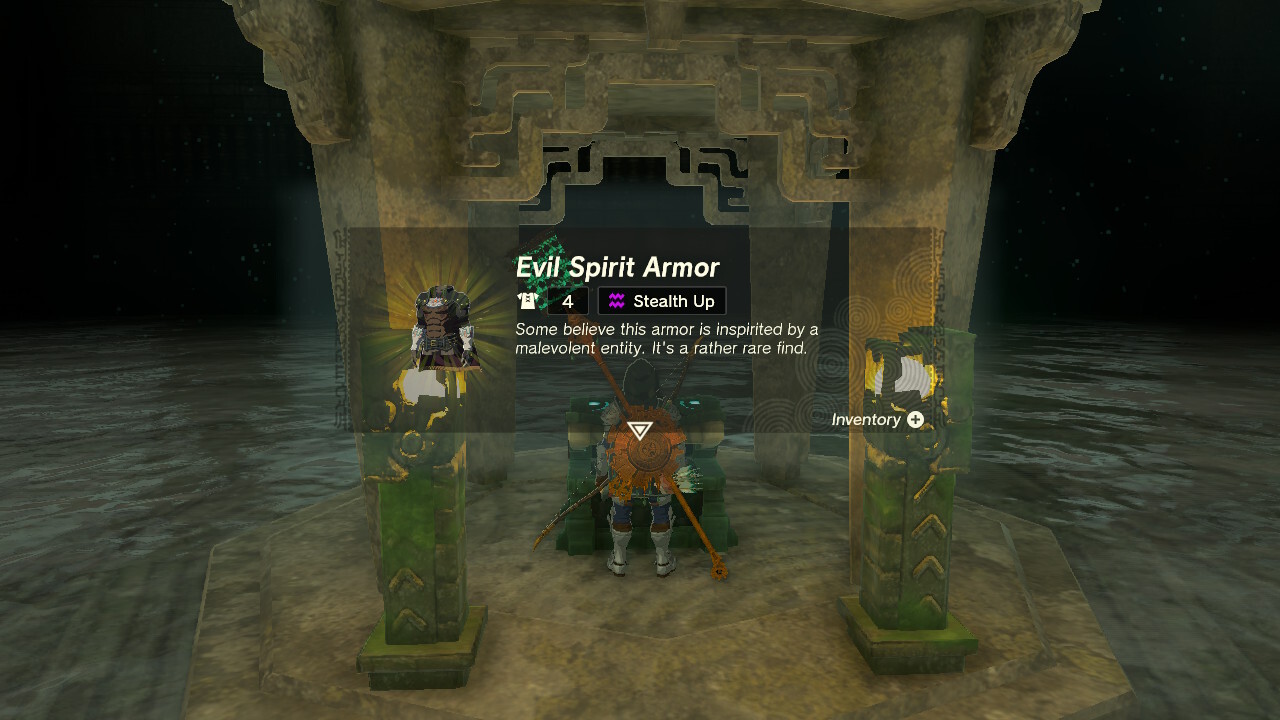
After defeating your foe, interact with the terminal to spawn a chest. This will reward you with the Evil Spirit Armor. It has +4 armor rating and it increases your stealth. Moreover, wearing the full set yields increased proficiency when using bone weapons. And, yes, it basically looks like the Phantom Ganon set from Breath of the Wild.
In any case, this completes the Zelda: Tears of the Kingdom Lomei Labyrinth objectives. Don't forget to tackle the Hebra Labyrinth and the Gerudo Labyrinth while you're at it.
There are numerous mechanics and facets to learn in The Legend of Zelda: Tears of the Kingdom. For more information, you can visit our guides hub.
The products discussed here were independently chosen by our editors. GameSpot may get a share of the revenue if you buy anything featured on our site.
Got a news tip or want to contact us directly? Email news@gamespot.com
Join the conversation