Zelda: Tears Of The Kingdom - Fifth Sage Location Guide
Here's how to find the ruins from the age of legends in Zelda: Tears of the Kingdom.
The Legend of Zelda: Tears of the Kingdom Fifth Sage is one of the game's main quests. Why bother talking about it? Well, it's because there's hardly any clue to solving it. All you're told is to "find the ruins from The Age of Legends," and you might get frustrated trying to look for the objective. Don't worry, because our guide will help you find the Fifth Sage location in Zelda: Tears of the Kingdom. Likewise, please be reminded that this article contains spoilers.
Where to find the Fifth Sage in The Legend of Zelda: Tears of the Kingdom
The Ruins from the Age of Legends
You'll get the Zelda: Tears of the Kingdom Fifth Sage quest after beating Phantom Ganon in Hyrule Castle. As the group discusses the recent turn of events, Purah tells you that there might be a Fifth Sage somewhere. Your only clue is to "find the ruins from the age of legends."
There are a lot of ruins in the game, and most of them match that vague description. If you've been exploring as much as you can, there's a chance that you'd think every major landmark fits the bill. However, the location is actually the Ring Ruins in Kakariko. In fact, it's the fifth and final stone tablet, which you'd be familiar with if you've already completed A Trip Through History.

To reach it, use your traversal abilities to get to the central section in the area (the one that you couldn't go to earlier since the NPC, Calip, was warning you). You should be able to use your Ascend ability to reach the small room. Take a photo using the Purah Pad, then return to Paya and Tauro down below to share your findings.
Note: As of the time of this writing, we can't confirm if A Trip Through History must be completed beforehand just to trigger the quest step. We were already done with that side quest by the time we got the Fifth Sage objective.
A long trek through Faron
The next steps of the Zelda: Tears of the Kingdom Fifth Sage quest turn into a very long trek:
- Go to the Popla Foothills Skyview Tower.
- Continue onward to Dracozu Lake to the south and talk to Tauro.
- Open the chest to receive the Charged Shirt.
- The goal now is to follow the winding river while checking for small chambers that have chests. These will net you two other pieces for the Charged set.
- The river basin itself is shaped like a serpent, and you have to make your way to the "tail" part to the southwest.
- There, you'll find another chamber. Offer a Zonai Charge by holding and dropping it on the altar. This will lead to a cutscene that reveals the Thunderhead Isles in the sky.

And Thunderhead Isles
Thunderhead Isles consists of several floating landmasses in the sky. Although the tasks are fairly straightforward and easily understood, the main danger here is the constant thunderstorm. This will cause lightning to strike anything metallic. As such, you'll want to equip only cloth attires and wooden weaponry. If you need to Fuse anything, make sure it's a monster material, such as bones or claws.
Along the way, you'll also see push blocks that need to be powered by electricity. The nearby metal rods will periodically draw lightning strikes, too, so you can rotate the push block and wait for it to happen. Alternatively, you can use Shock Fruit or Riju's ability.

The Sage of Spirit
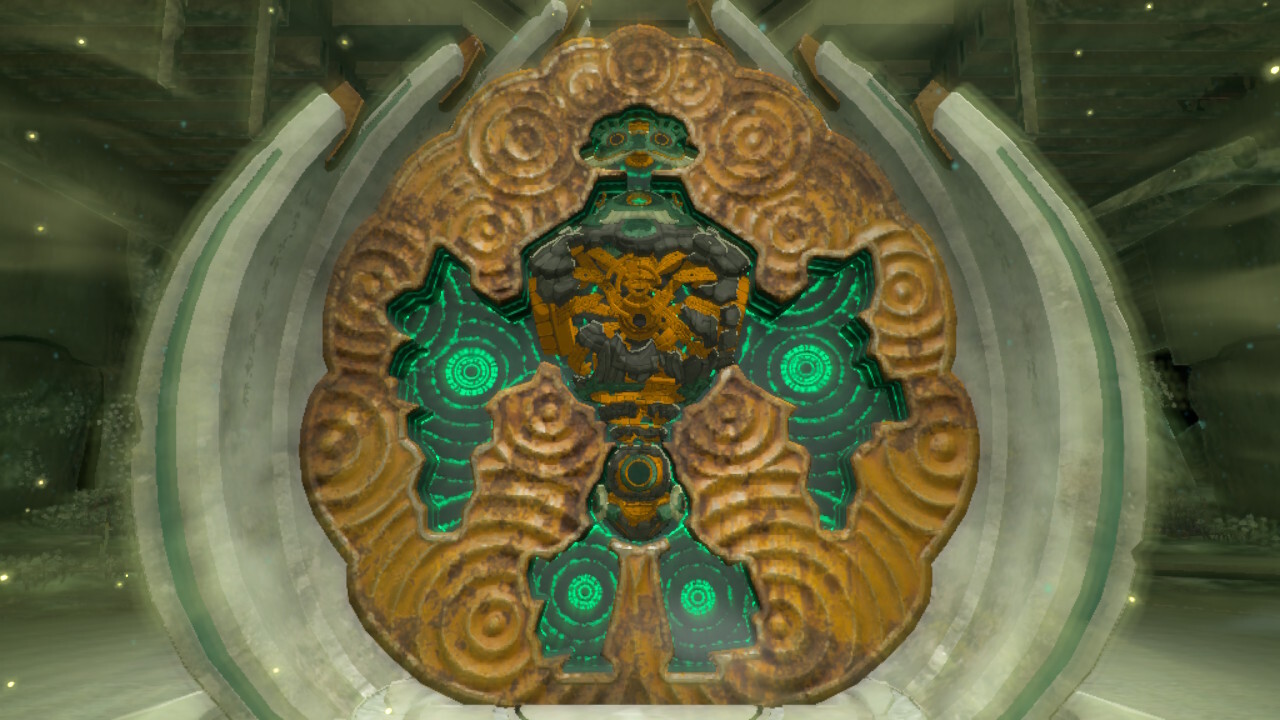
At the end of the Thunderhead Isles portion of the Zelda: Tears of the Kingdom Fifth Sage quest, you'll arrive at a hidden facility in the Depths. There, you'll see a carved outline of a Construct, except it looks bigger than the snake-like automatons that you've encountered throughout the game.
This is none other than Mineru, Rauru's sister, and she's actually the Sage of Spirit. Your objective now is to collect the four robot parts from each of the facilities surrounding the central forge.
Once you're done with that, Mineru will have a physical form. This new Sage companion acts as a vehicle that you can ride and control. You can attach various Zonai Devices and objects so it can do melee attacks, shoot beams and ranged projectiles, and have additional speed bursts.
The Seized Construct boss
One last thing we need to mention is that there's a boss that you'll face called the Seized Construct. By defeating this foe during the Zelda: Tears of the Kingdom Fifth Sage quest, it will no longer appear later in the campaign.
However, if you never completed the Fifth Sage quest beforehand, then you'll have to battle the Seized Construct later, and without your own mech, too. One of our writers mentioned that its defenses were through the roof that it took almost 20 minutes before they could defeat it.

There are numerous mechanics and facets to learn in The Legend of Zelda: Tears of the Kingdom. For more information, you can visit our guides hub.
The products discussed here were independently chosen by our editors. GameSpot may get a share of the revenue if you buy anything featured on our site.
Got a news tip or want to contact us directly? Email news@gamespot.com
Join the conversation