Zelda: Tears Of The Kingdom - Water Temple Puzzle Guide
Solve the Water Temple puzzles in The Legend of Zelda: Tears of the Kingdom.
The Legend of Zelda: Tears of the Kingdom Water Temple Puzzle is what you'll encounter once you're done with Clues to the Sky, as well as a few preliminary steps. This will be the conclusion of the main quest in Lanayru/Zora's Domain, where you'll make use of Sidon's ability. Here's our guide to help you complete the Water Temple Puzzle in Zelda: Tears of the Kingdom.
How to complete the Water Temple Puzzle in The Legend of Zelda: Tears of the Kingdom
The Zelda: Tears of the Kingdom Water Temple Puzzle requires you to remove four locks from the giant faucets. This is done by casting Sidon's Water Bubble, and using a melee weapon to strike specific water wheels. You can see where they are on the map below.

B1 water wheel
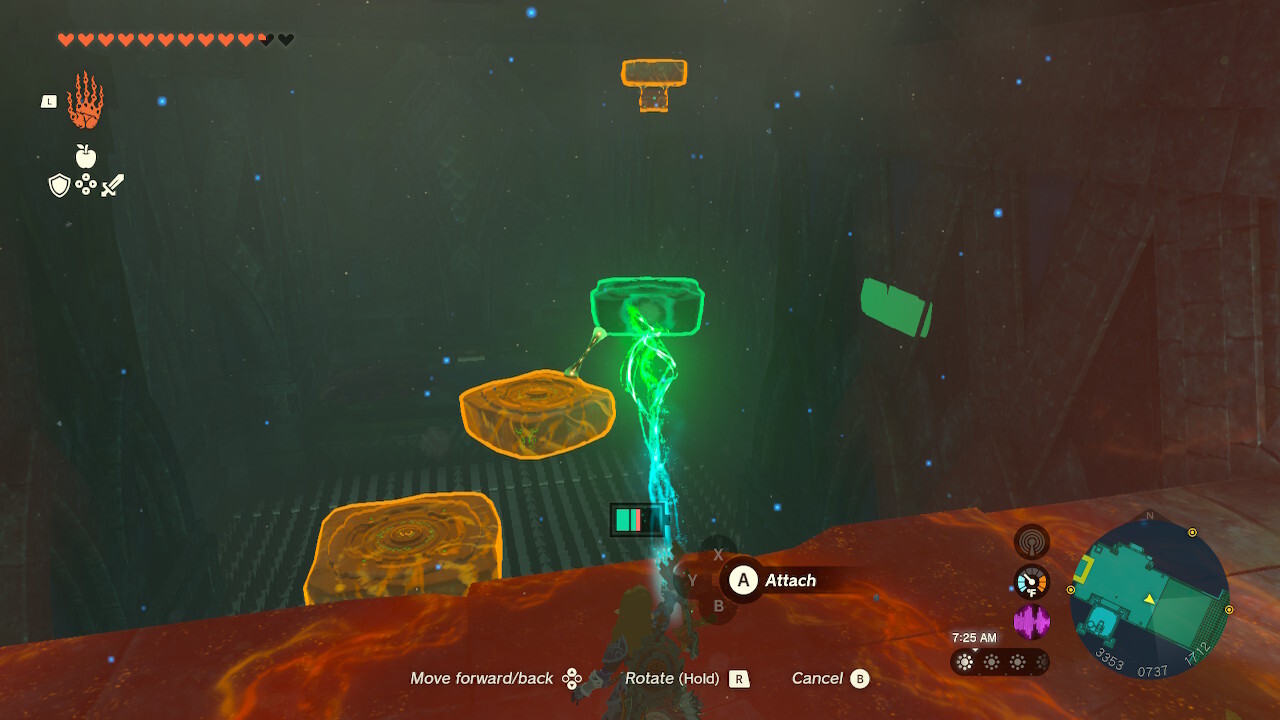
From the fast travel point, look along the left side edge of the arena. You'll notice a small island with a pond. Jump down and take the cliffside steps to a chamber. Use Sidon's Water Bubble to bypass the flames, and you'll see a ball at the opposite end. However, the floor has numerous spikes, though there are some Hover Stones that you can use.
Position the Hover Stones so that you'll be able to use them by attaching/moving the ball back to the initial area. When that's done, slam the ball into the center of the target to keep it in. The light will turn green, and you'll be able to strike the first water wheel.
1F left water wheel
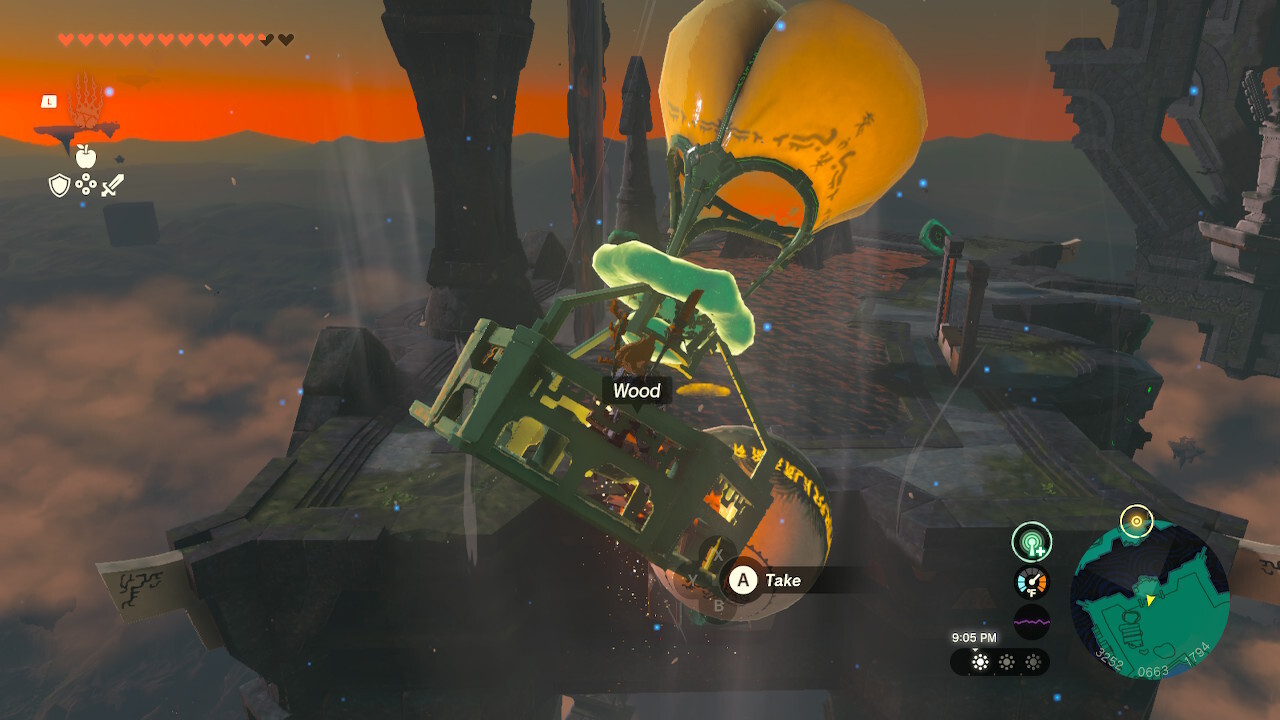
Return to the fast travel point and head to the left-hand side. You'll see a large ball here. Now, to be fair, there might be a typical puzzle solution here, but we just opted to make a Zonai Balloon via Autobuild.
We carried that to the higher ledge and dropped it into the pool (you may need to push it down for a few seconds to make the light turn green). Once that's done, lift the sluice gate for a few seconds, then cast Recall to keep it in place for a bit. The pool will be drained, allowing you to hit the second water wheel.
1F top-right water wheel
From the left section, you should be able to traverse the towering faucets to the right-hand side. Alternatively, use another Zonai Device to reach it.
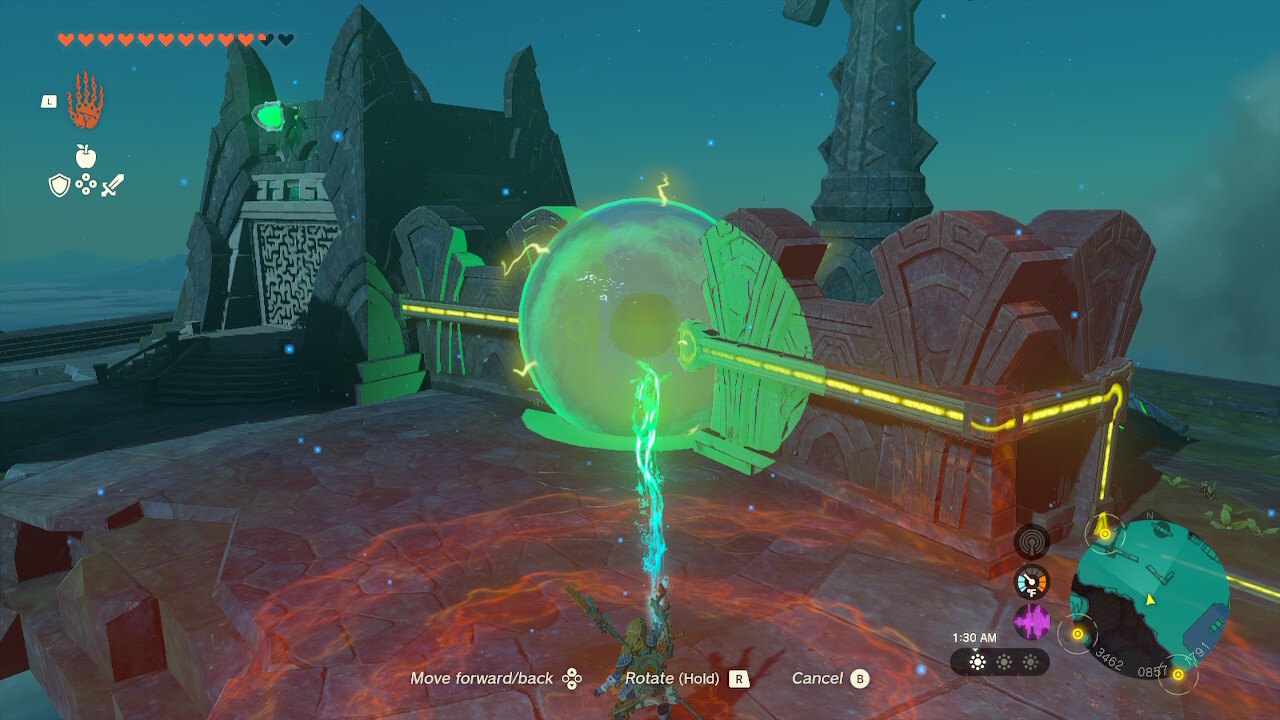
The goal here is to funnel power to the small chamber to remove the barricade. You can spin the water wheel to generate electricity. Then, move one of the floating bubbles to the center gap. It's made of water, which conducts electricity, forcing the barricade to open. Alternatively, you can try Riju's Lightning Strike to see if it works.
1F bottom-right water wheel
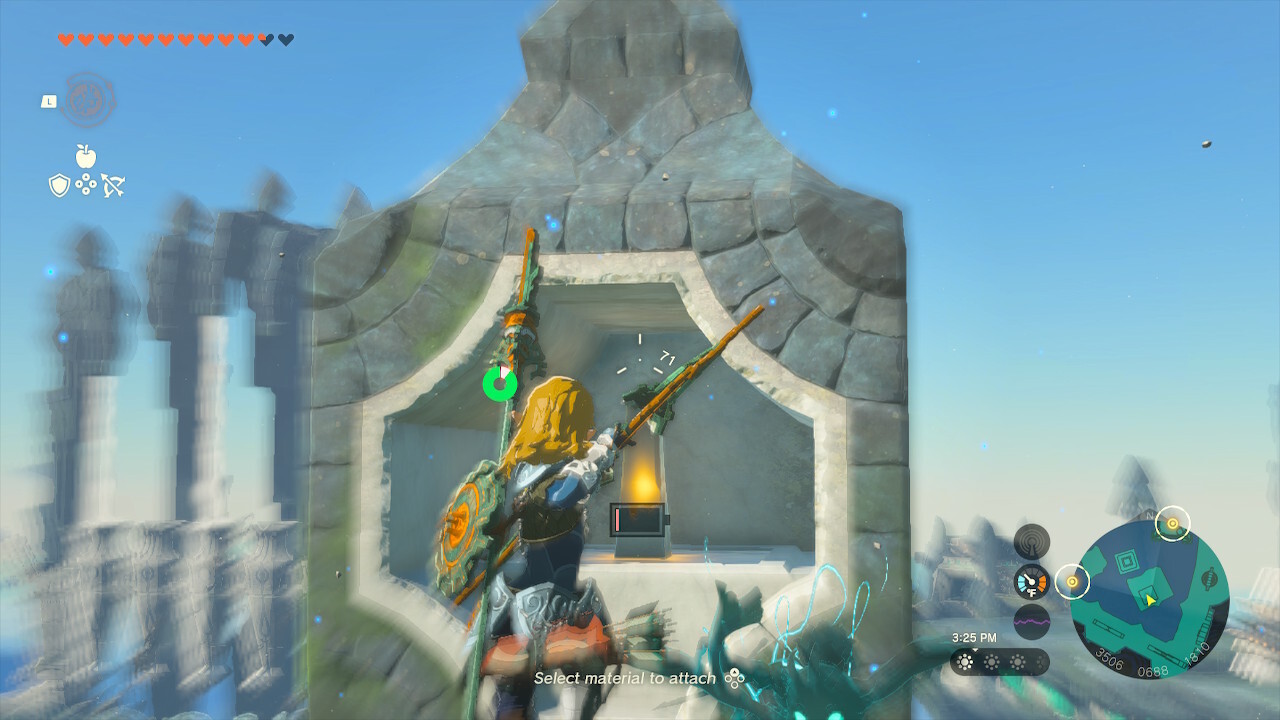
From there, you'll be able to head to the other section on this side of the map. The key objective here rests at the top of the spinning structure. Use one of the Hover Stones to reach higher into the air (use Ascend if you need to). Then, as you're jumping down, aim with your bow. This will slow down time, letting you land a clear shot at the switch. One the pool has been drained, you can hit the water wheel.
After all water wheels have been activated, you'll complete the Zelda: Tears of the Kingdom Water Temple Puzzle. Now, it's time to face one of the most annoying bosses in the game, the Mucktorok.
There are numerous mechanics and facets to learn in The Legend of Zelda: Tears of the Kingdom. For more information, you can visit our guides hub.
The products discussed here were independently chosen by our editors. GameSpot may get a share of the revenue if you buy anything featured on our site.
Got a news tip or want to contact us directly? Email news@gamespot.com
Join the conversation