Zelda: Tears Of The Kingdom - Jiosin Shrine Puzzle Guide
Solve this early Shrine and earn yourself one of your first Lights of Blessing during your adventure.
Perhaps the very first Shrine you'll come across in Zelda: Tears of the Kingdom (after you leave Great Sky Island) is the Jiosin Shrine, known by its feature name, "Shape Rotation." The Shrine puzzles will get much tougher than this one, but there's no shame in needing a helping hand early on. Here's how to complete this Shrine and earn what may be your first Light of Blessing on solid ground.
Zelda: Tears of the Kingdom Jiosin Shrine puzzle guide
Like the feature description suggests, the Jiosin Shrine is all about rotating shapes. In fact, if you're familiar with the baby toy that allows toddlers to fit shapes into a box, this shrine is basically that. You'll be using a lot of Ultrahand here and, as a slight shortcut, a bit of Ascend, too.
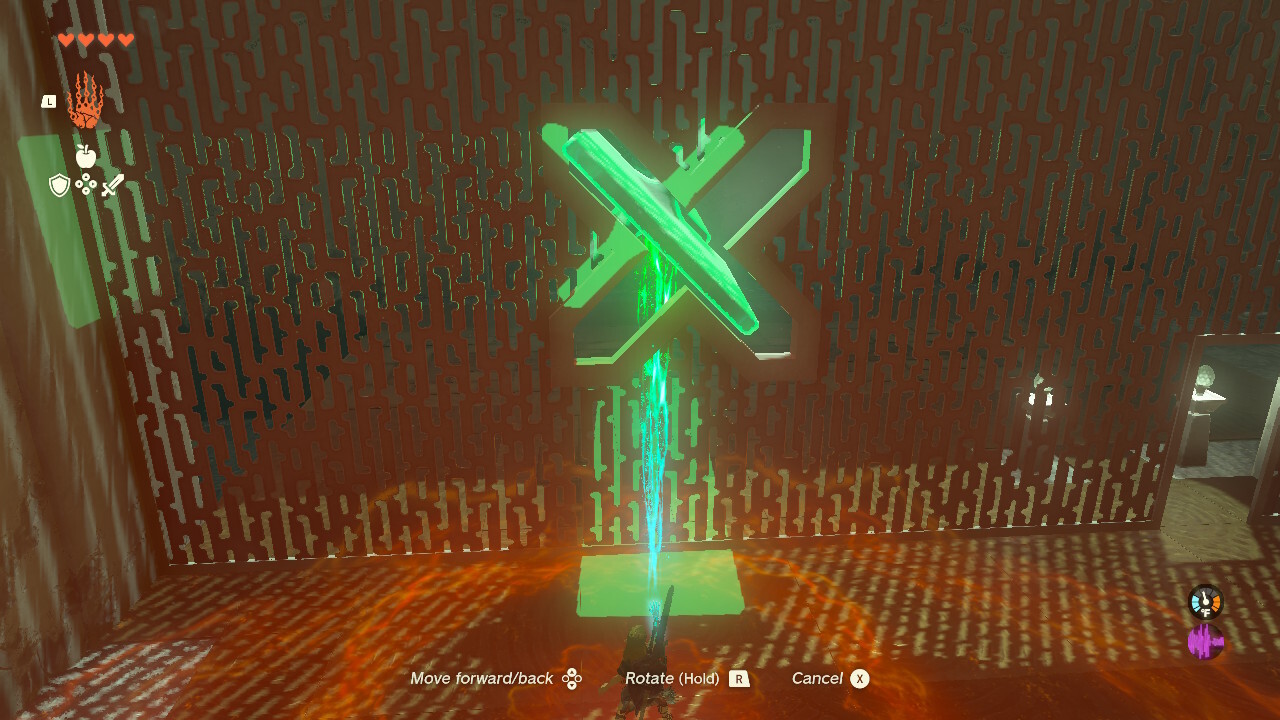
To start, head into the available room and grab the long oddly shaped plank with Ultrahand. Rotate it so that it fits out the hole in the wall, then drop it and retrieve it on the other side.

Next, use it as a bridge to cross the wide gap.

In the next area, you'll be met with two rooms this time, as well as the optional chest. First, head into the room on your right and grab the large block, then fit it out of the room as you did with the previous piece. Once it's in the middle area, don't fit it through the other side just yet.

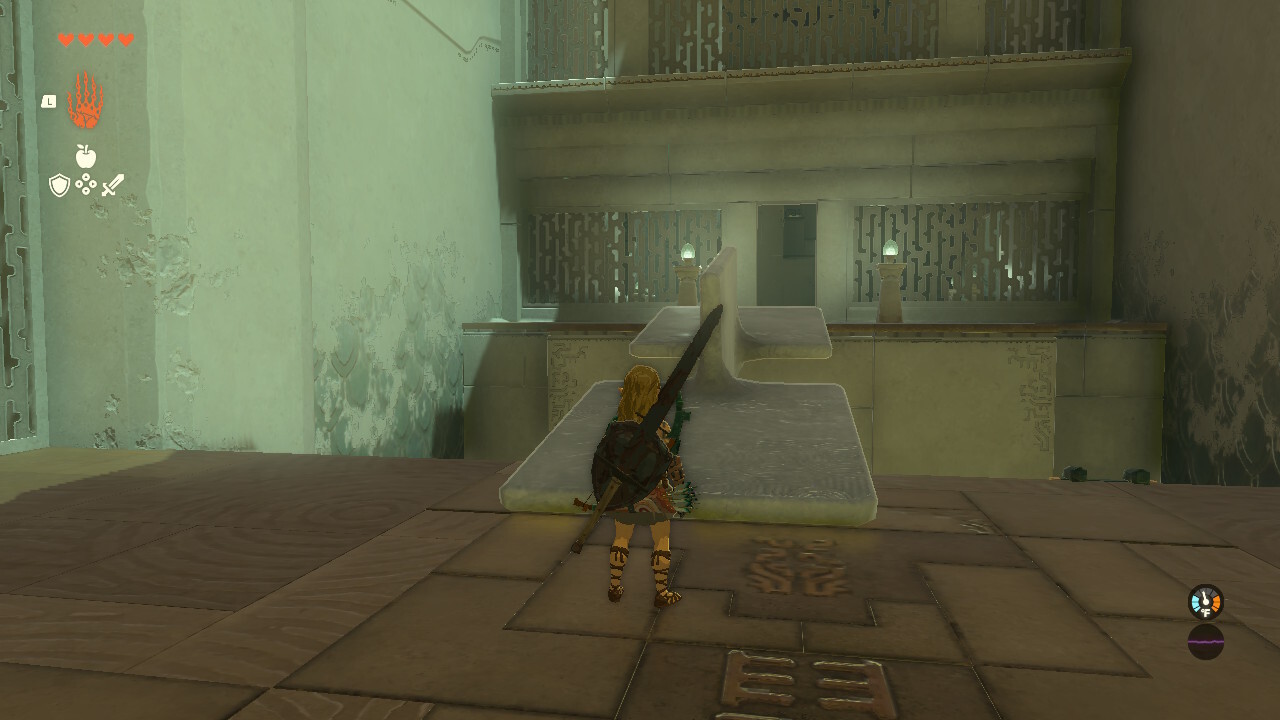
Bring it over to the side of the wall on top of which the chest sits. Prop up the block as we did in the image, then use Ascend to move upward to the top of the object. There you'll be within reach of the chest, so grab your extra winnings, then climb down and proceed through the Shrine.

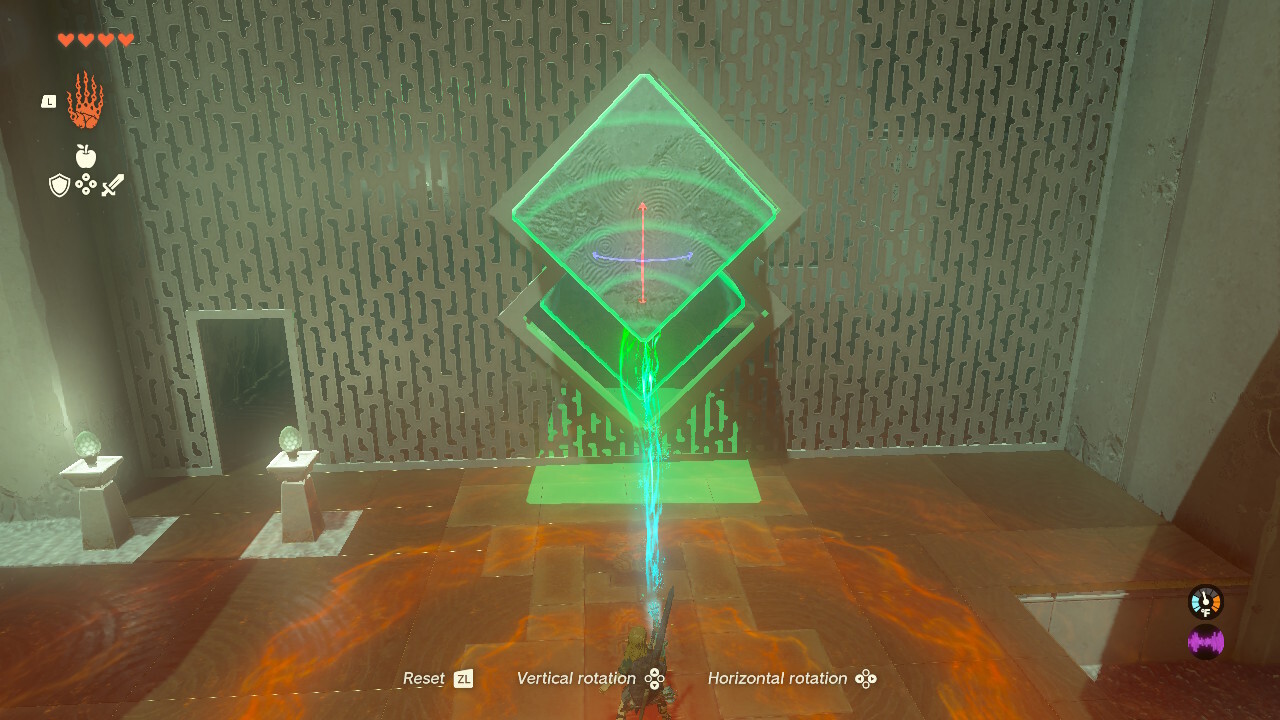
For this next part, take the block once more with Ultrahand and rotate it until it appears like it does in the image, with the blocks forming two long diamonds and the smaller of the two "diamonds" on the bottom. This will allow you to move the block into the final room.

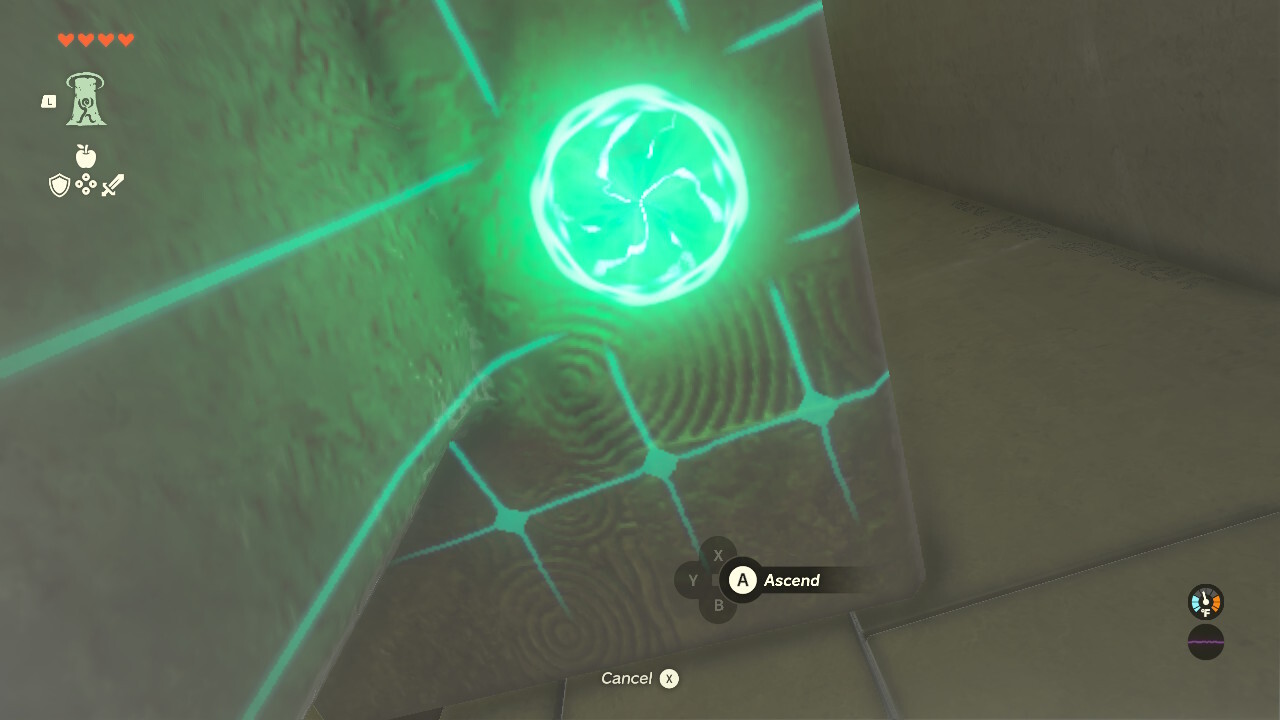
Once you have it in there, you can perform the same trick you did to retrieve the chest; prop the block against the wall, then Ascend to the top where you'll then be able to complete the Shrine.

We have many more guides in our Tears of the Kingdom guides hub, including a map of all Shrine locations and many more individual Shrine puzzle guides.
The products discussed here were independently chosen by our editors. GameSpot may get a share of the revenue if you buy anything featured on our site.
Got a news tip or want to contact us directly? Email news@gamespot.com
Join the conversation